TUTORIAL
How to Use the Image Editing Feature
User Guide:
First, enter the Image Editing feature from the homepage. Please make sure that you are registered and logged into KokoroLab.
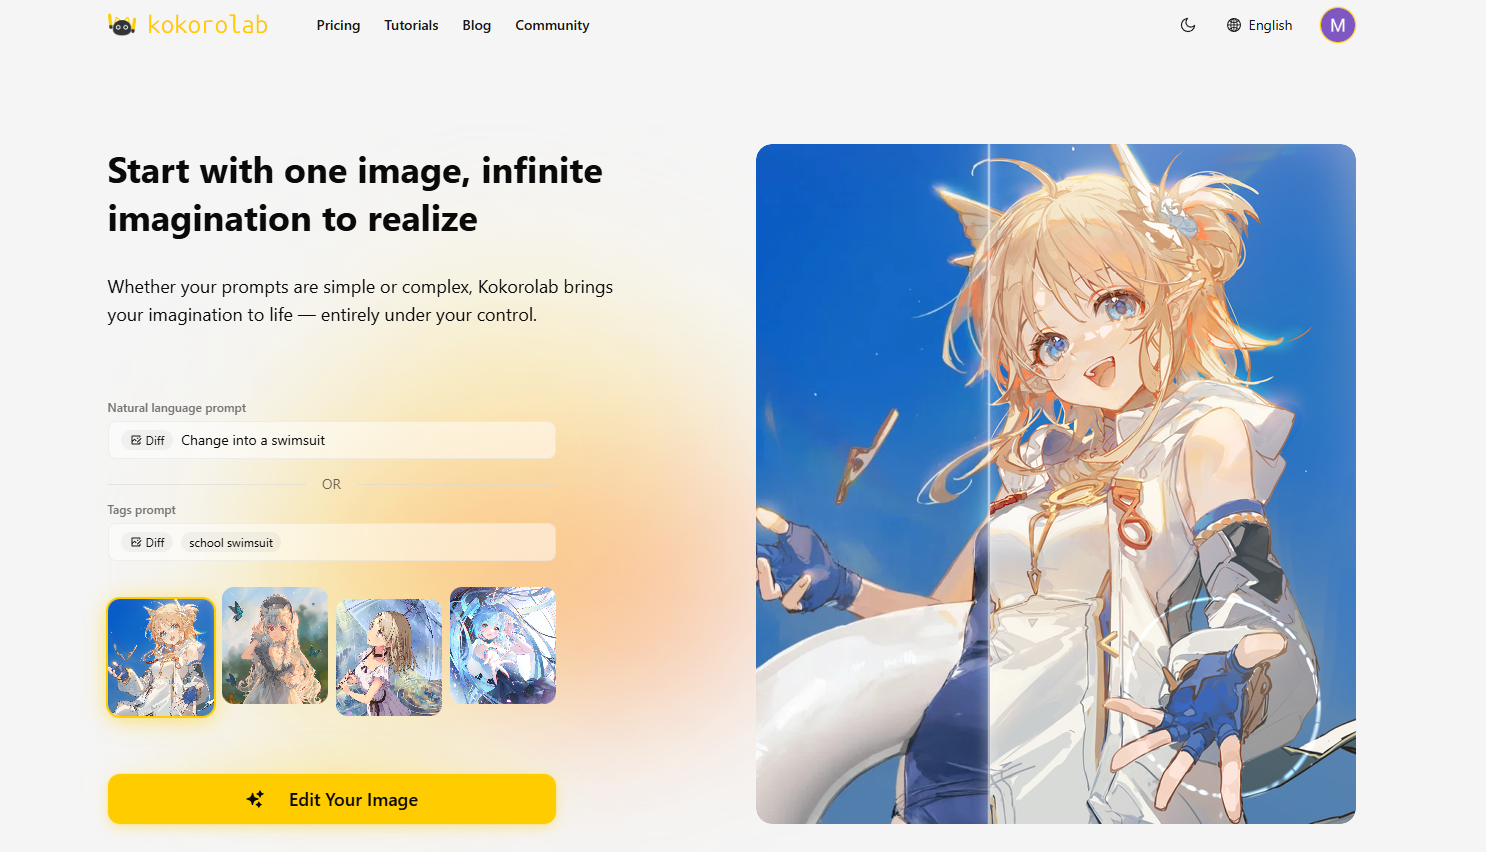
We provide two modes: Image Editing and Image Variation. The following guide will walk you through both functions.
Image Editing Mode
Image Editing mode allows you to change the entire image based on your prompt, creating a new version of the scene that remains visually consistent.
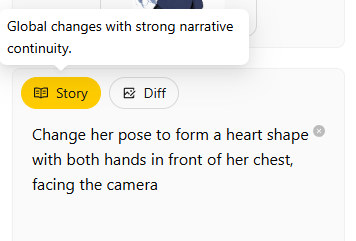
Select the KokoroLab model, upload your reference character image, story mode will auto selected, and enter this prompt:
Change her pose to form a heart shape with both hands in front of her chest, facing the cameraClick Generate, and you will see the model begin working on your request.
Great! You have now created a new scene together with KokoroLab, turning imagination into reality.
KokoroLab also supports tags, which allow you to describe actions without writing long sentences. Simply enter the tag, and the model will perform accurate visual changes. Example: v-gesture
You can combine multiple tags to describe different elements. If you use more than one, please separate them with commas.
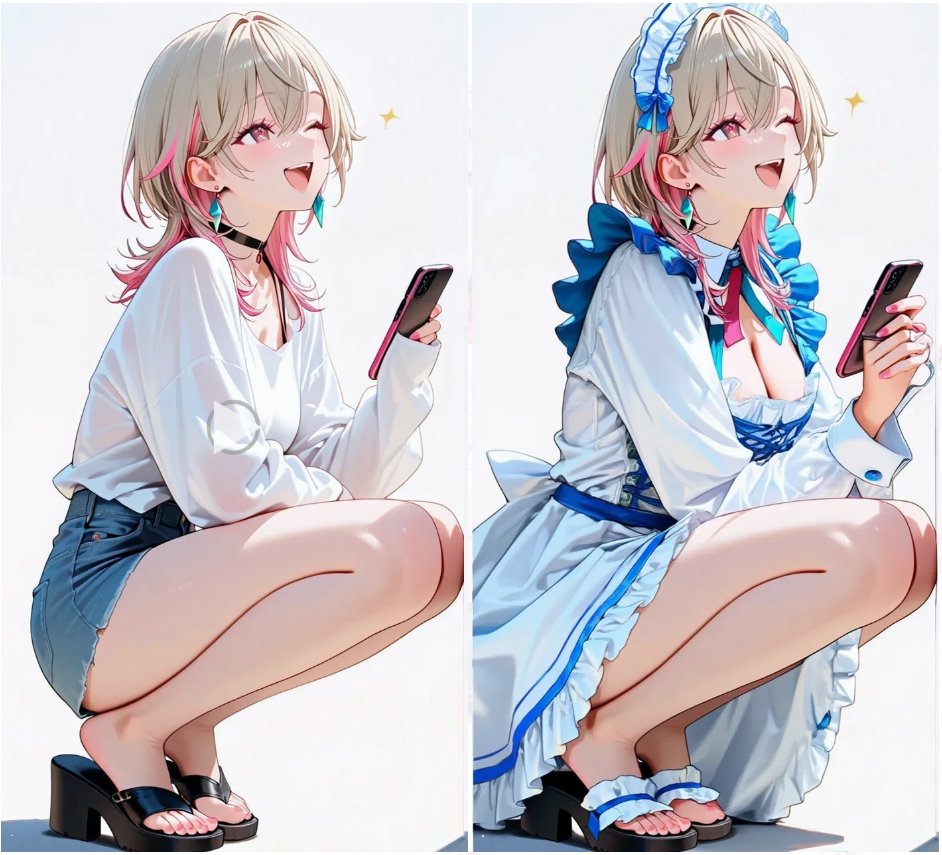
Image Variation Mode
Image Variation mode allows you to change only specific parts of the image, keeping everything else untouched.
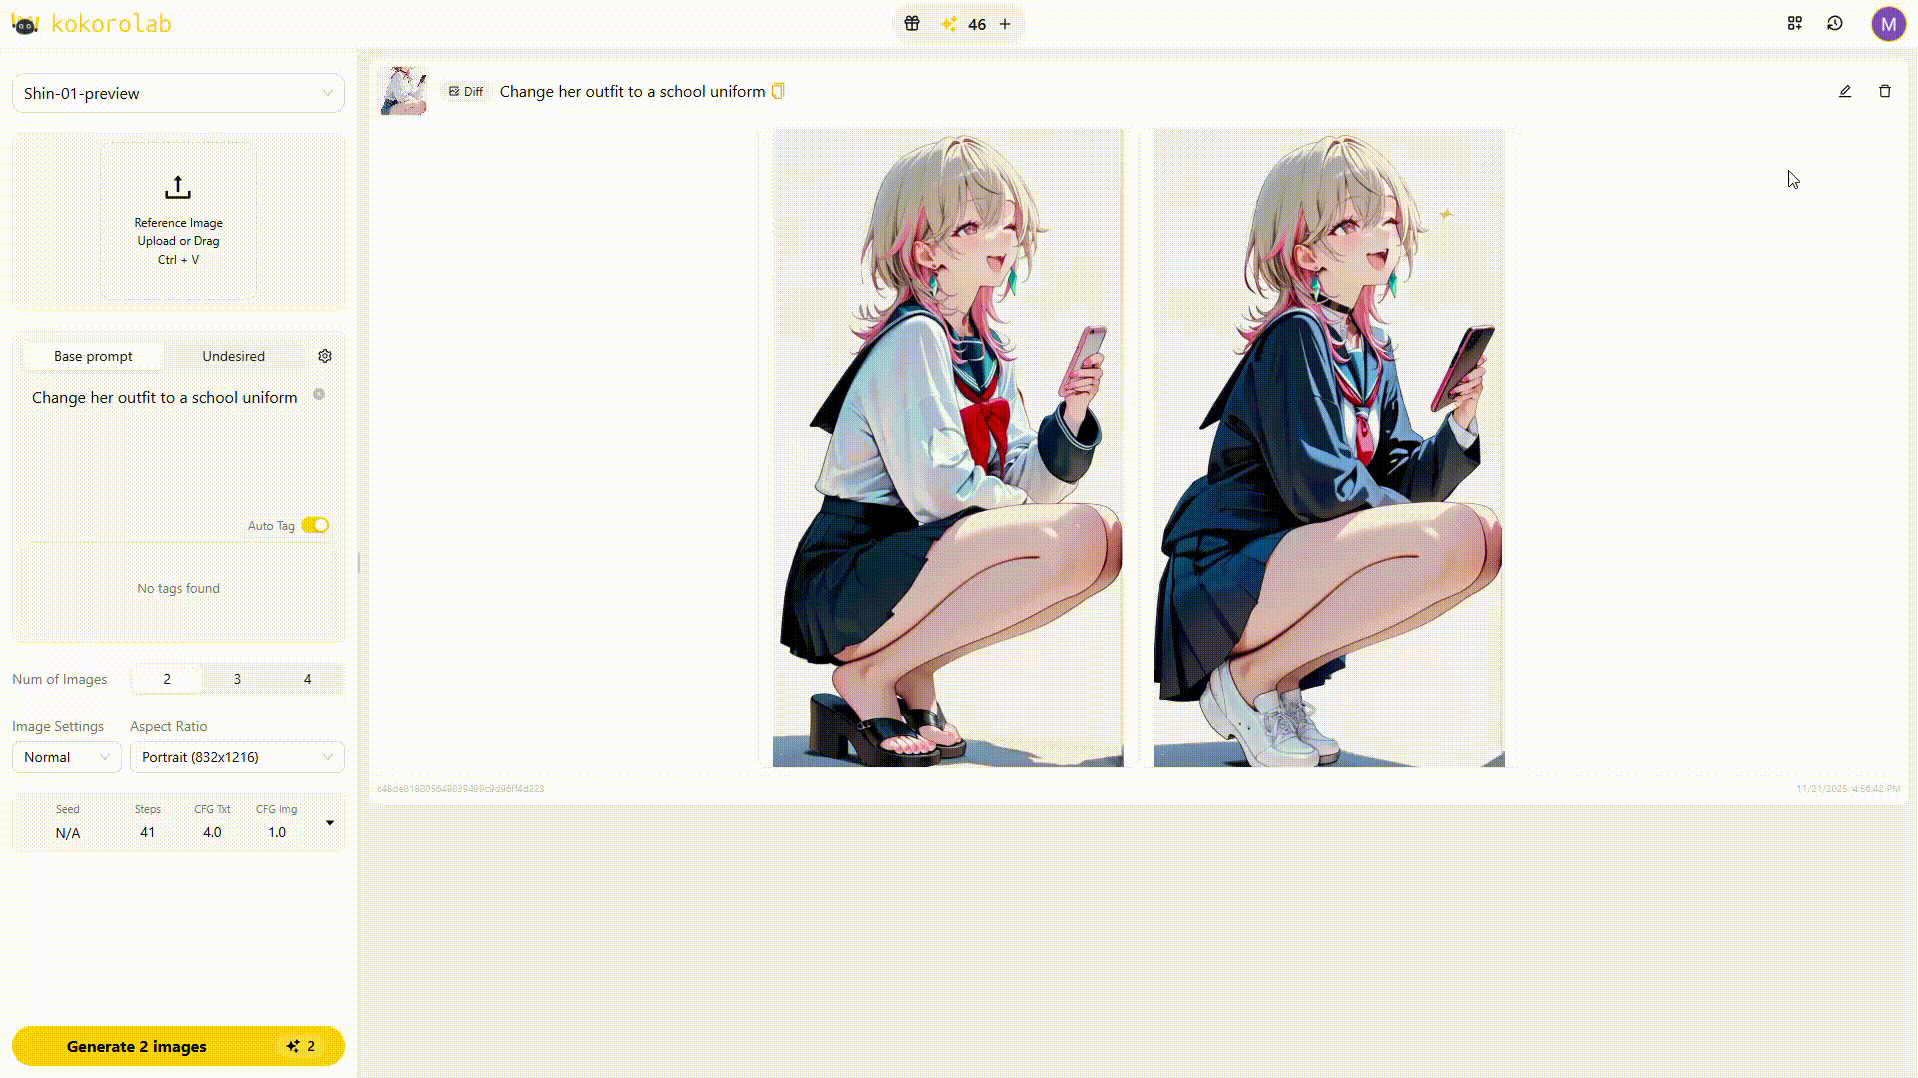
Switch to Diff Mode, and you will notice the mode tag automatically appears in front of your prompt. This tells the model to apply changes more precisely.
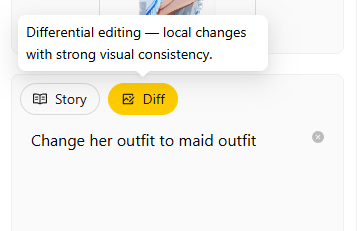
Try this prompt:
Change her outfit to a school uniform.
Now you know the basics of Image Editing and Variation.
Start exploring and create your own anime world with KokoroLab!
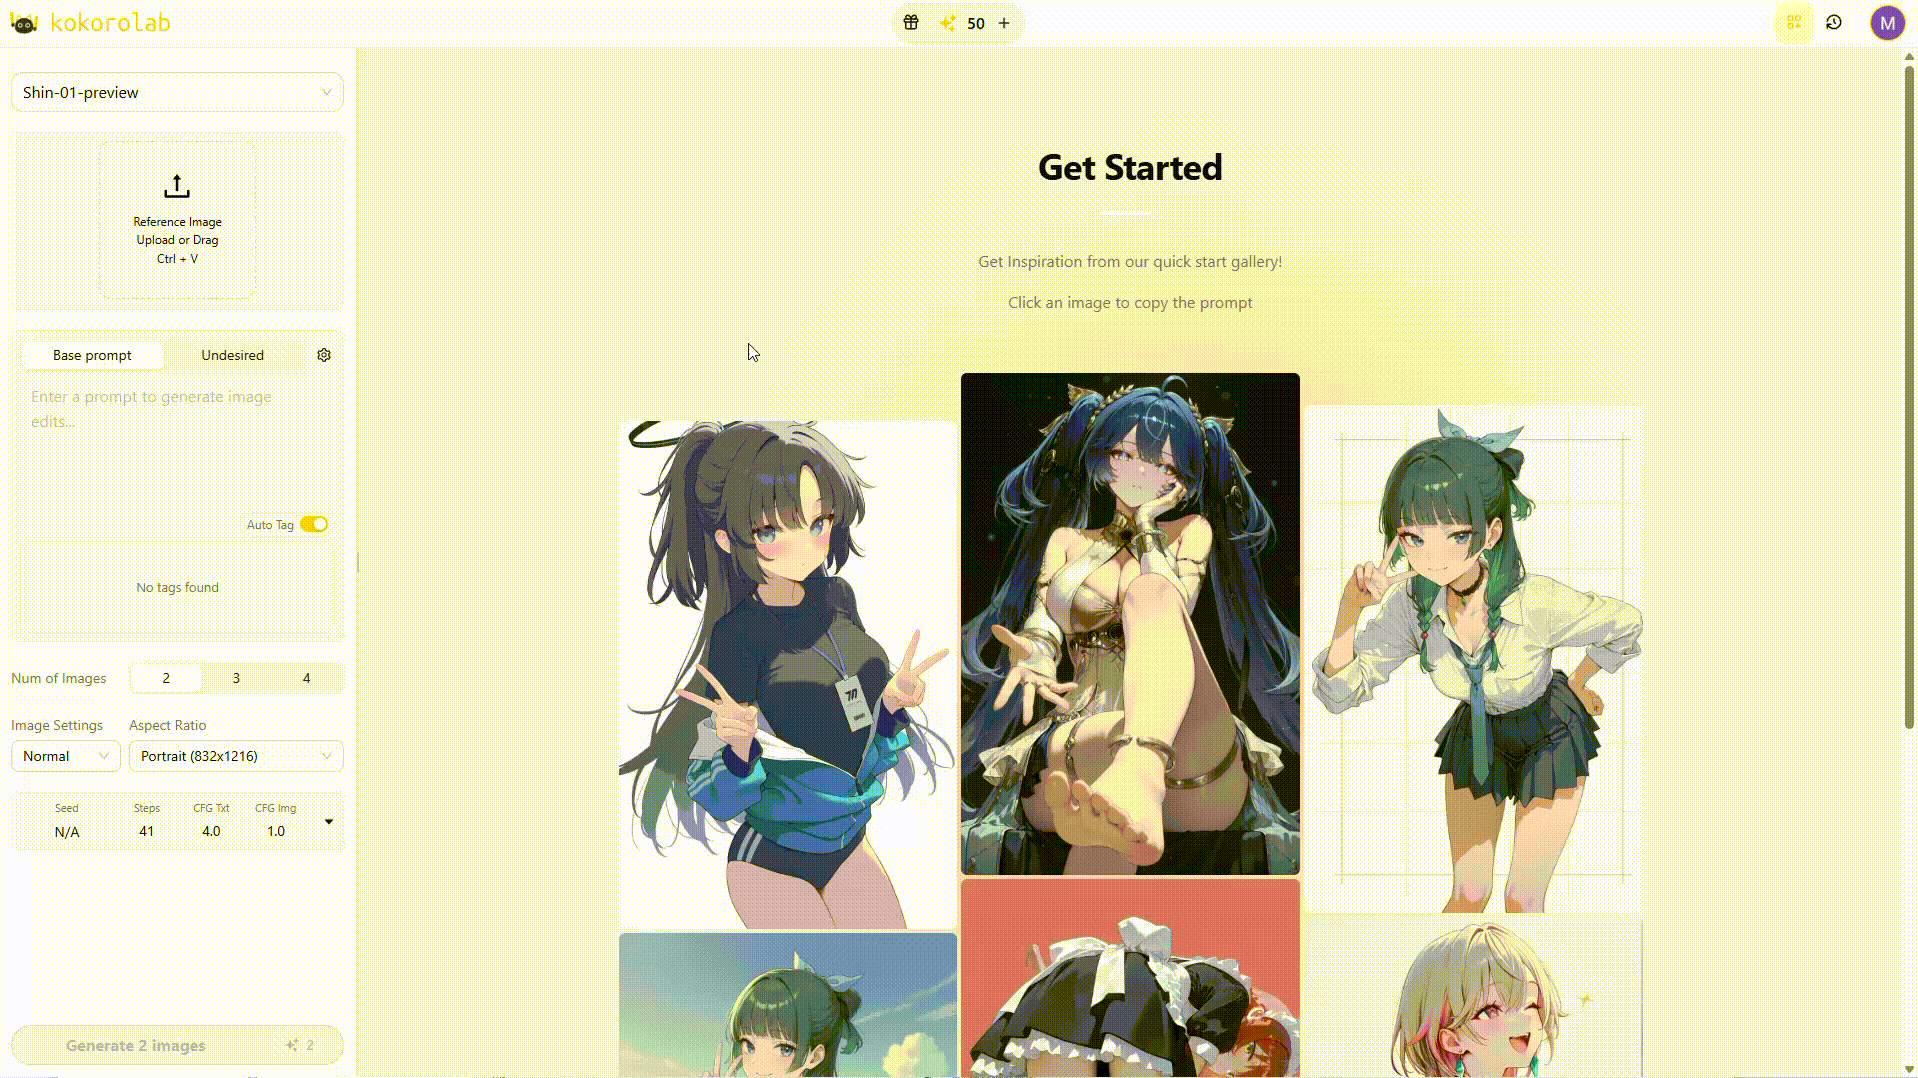
More Settings
For a more customized experience, you can adjust additional settings:
Output Settings
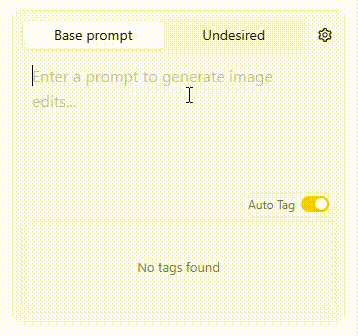
Sometimes, the generated result may include elements you do not want. In that case, you can try this:
Write down the elements you want to exclude here, and the model will avoid generating them.

If you have additional requirements for image format, you can use these buttons to adjust:
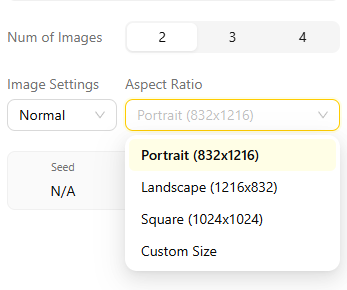
Choose the number of images to generate: supports 1–4 images, allowing you to get multiple different results.
Choose the output image format: we support keeping the original format, as well as portrait, landscape, square, or custom.
If you want to make changes, modify the original image prompt:
Modify an already generated image. This image will become the new reference, allowing you to apply a second round of editing:

Advanced Settings
If you want to explore more generation possibilities, feel free to try the following options:
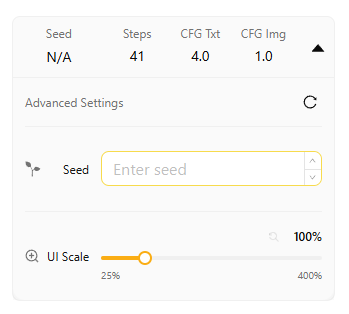
Seed:Used to control whether the generated result can be reproduced. Set to empty or -1: every result will be different. Set to a fixed number: the same image can be generated again.
Steps:Determines how many times the model optimizes the image. More steps: more complete details and higher quality, but longer generation time. Fewer steps: faster generation, but possibly fewer details.
CFG Txt:Controls how strongly the model follows the text prompt. Higher value: closer to the prompt. Lower value: more freedom and more variation.
CFG Img:Controls how closely the result preserves the reference image. Higher value: closer to the original image. Lower value: larger changes and more flexibility.
Display Scale:Balances generation speed and image quality. Low Scale: better quality. High Scale: faster generation.
2261 Market Street STE 85199
San Francisco, CA 94114 US
Kokoro Lab, LLC
San Francisco, CA 94114 US
Kokoro Lab, LLC
© 2025 kokorolab, Inc.
PRODUCT